Activities for the Home
Ages 6-10:
Letter Tic-Tac-Toe (also featured in "Activities for the home" -ages 0-6)
Materials needed:
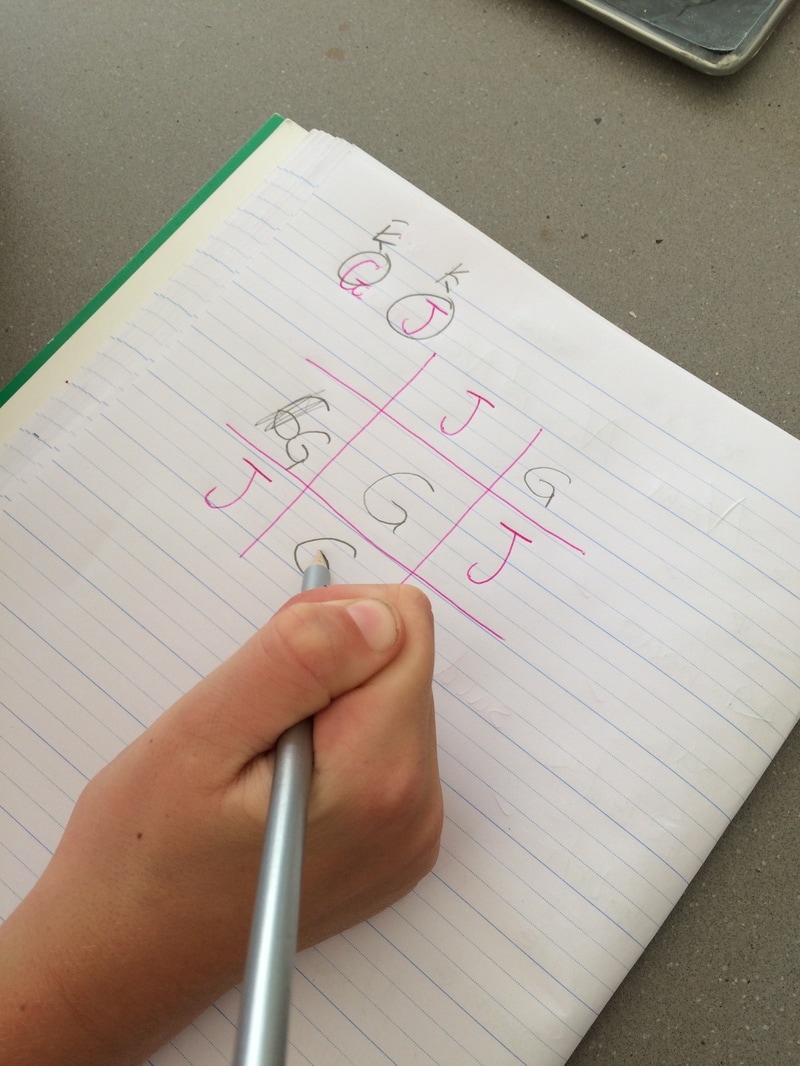
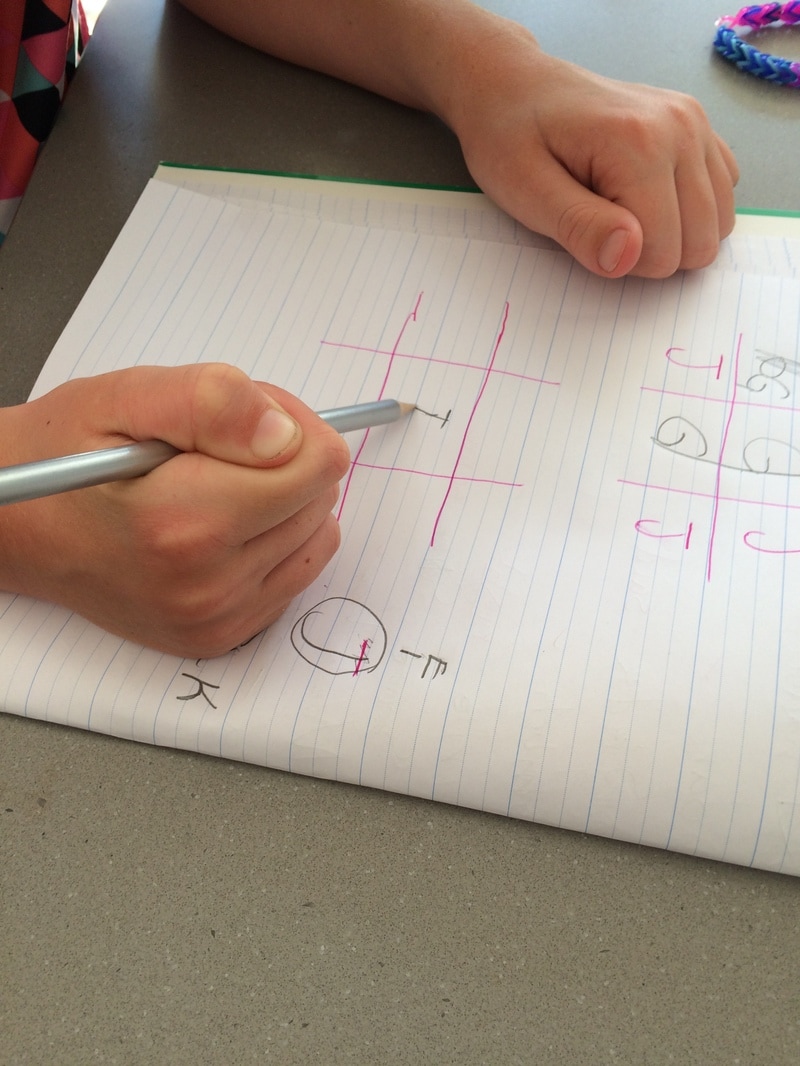
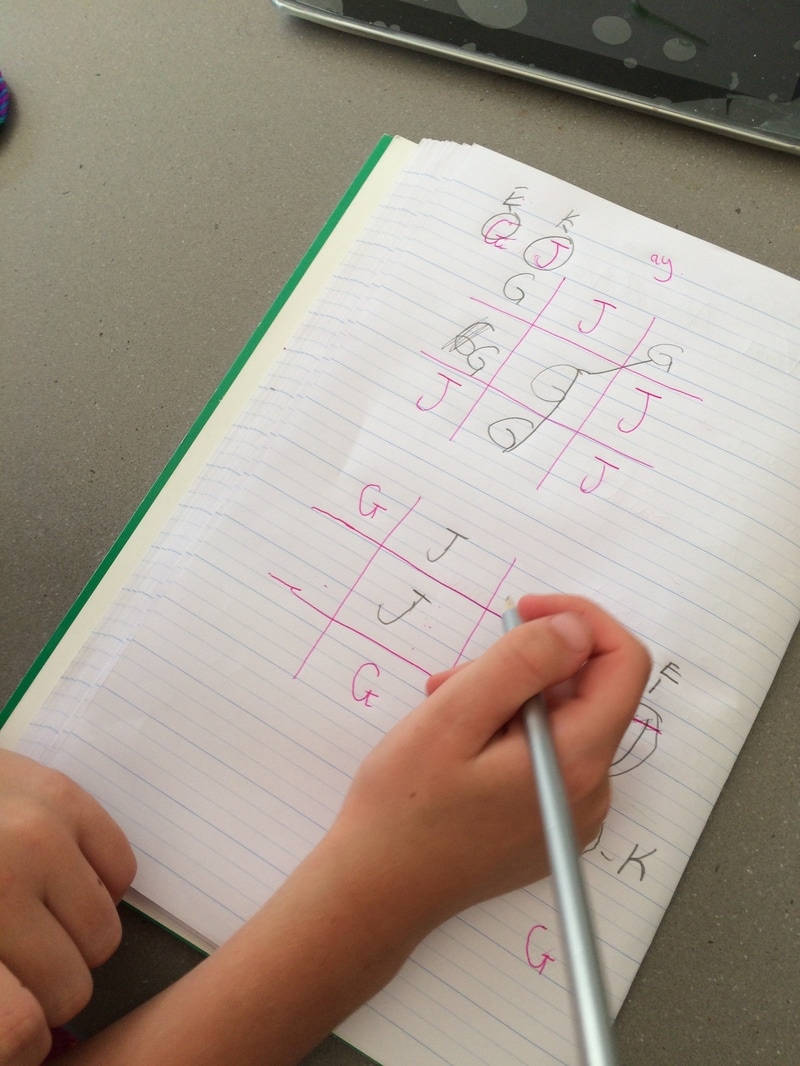
This game is very easy to set up and play. All you need to do is draw up a 3x3 tic-tac-toe grid and choose two letters that you want your child to practice. Once you have decided who is playing as each letter, take turns at writing your letter in a box on the grid, trying to block your opponent until one of you gets 3 in a row.
This game can be played with young children who are learning how to write their alphabet. This activity allows children to practice writing one letter repetitively in an engaging way. The letters you choose can be a letter that your child is having difficulty writing or a new letter that you are introducing to them. I have used this activity with a year 3 student who knew her alphabet but was getting confused with the naming of 'G' and 'J' so I chose these letters to play this game with her. Throughout the game I would ask her what letter she or I were writing so she could associate the name of the letter with the shape of it. This is another way you could use this activity.
Materials needed:
- Paper
- 2 Pencils
This game is very easy to set up and play. All you need to do is draw up a 3x3 tic-tac-toe grid and choose two letters that you want your child to practice. Once you have decided who is playing as each letter, take turns at writing your letter in a box on the grid, trying to block your opponent until one of you gets 3 in a row.
This game can be played with young children who are learning how to write their alphabet. This activity allows children to practice writing one letter repetitively in an engaging way. The letters you choose can be a letter that your child is having difficulty writing or a new letter that you are introducing to them. I have used this activity with a year 3 student who knew her alphabet but was getting confused with the naming of 'G' and 'J' so I chose these letters to play this game with her. Throughout the game I would ask her what letter she or I were writing so she could associate the name of the letter with the shape of it. This is another way you could use this activity.

The above pictures were taken with the consent of the children’s parents.
Proof of this can be shown if necessary.
Proof of this can be shown if necessary.
Connect a word (also featured in "Activities for the home" -ages 0-6)
Materials needed:
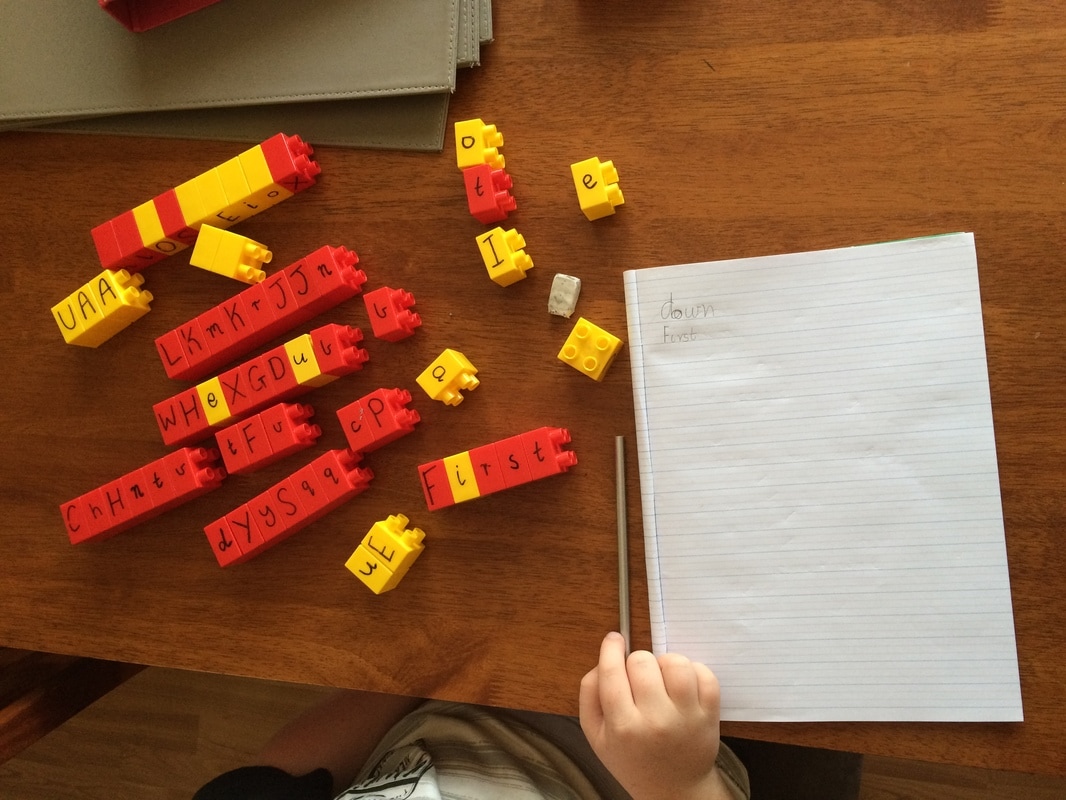
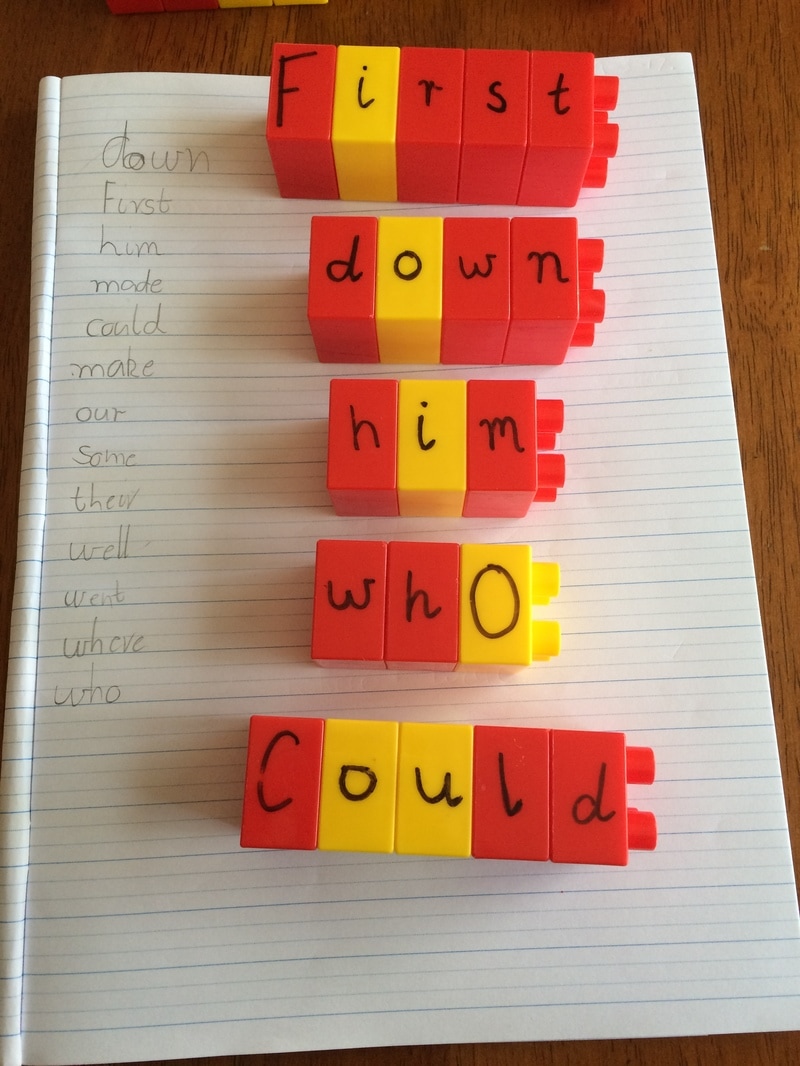
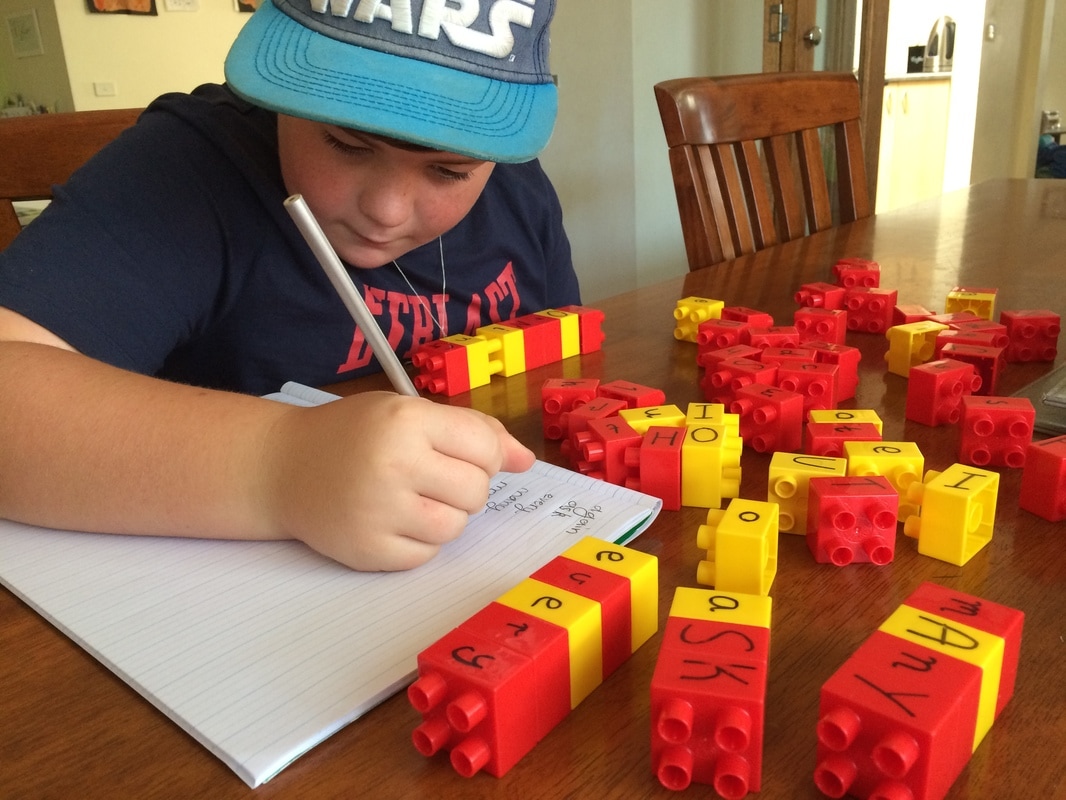
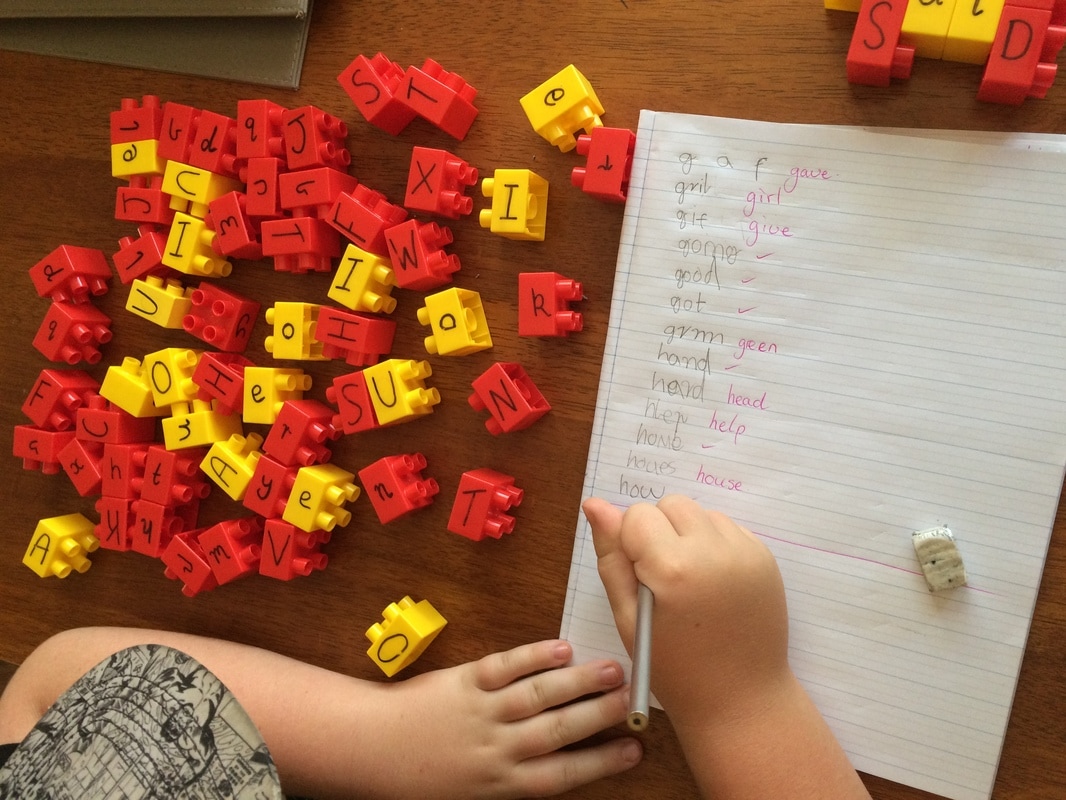
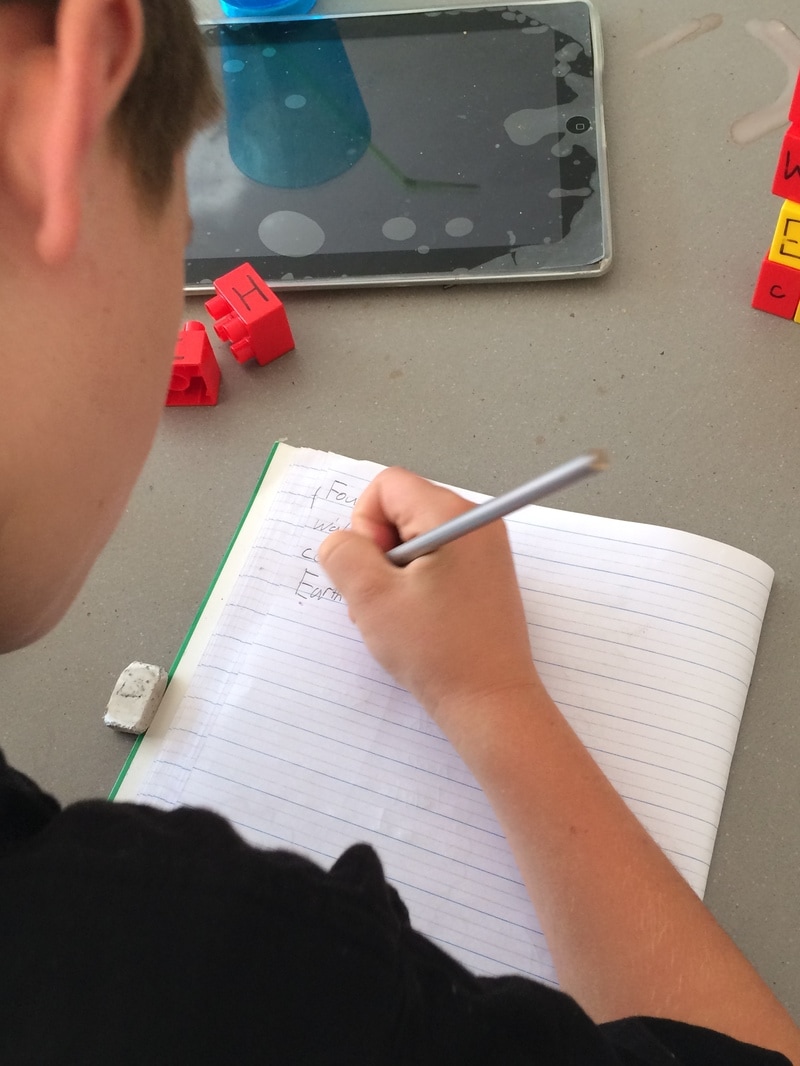
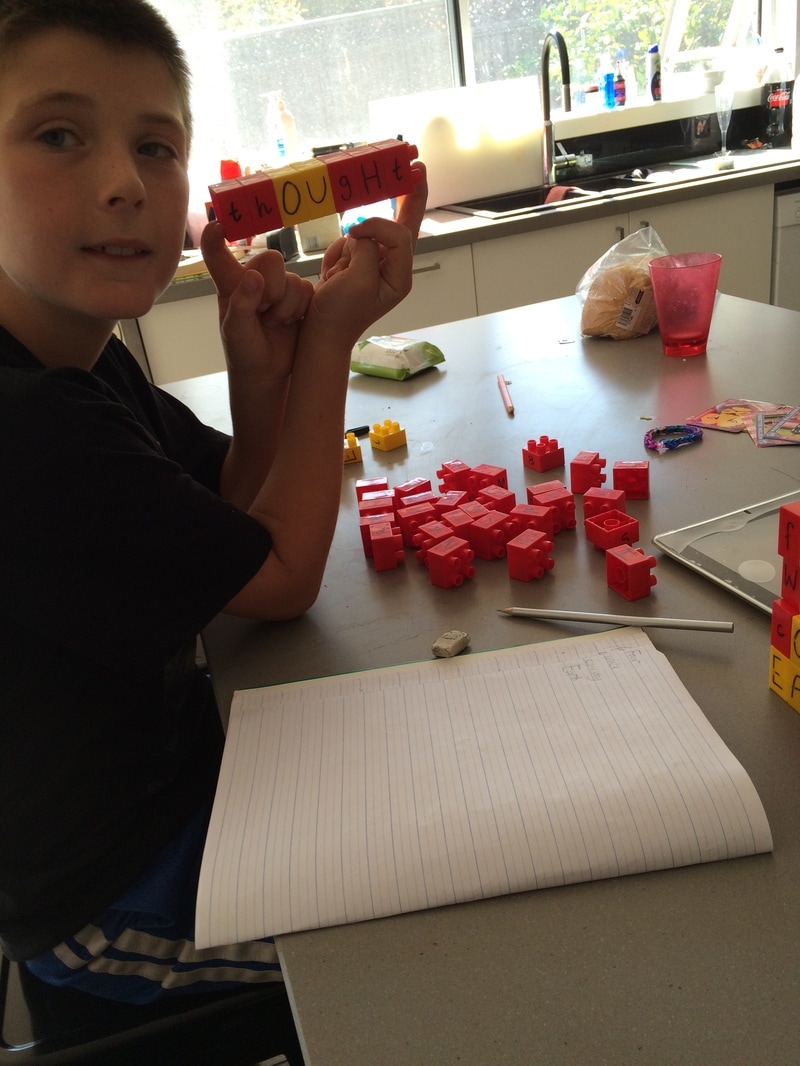
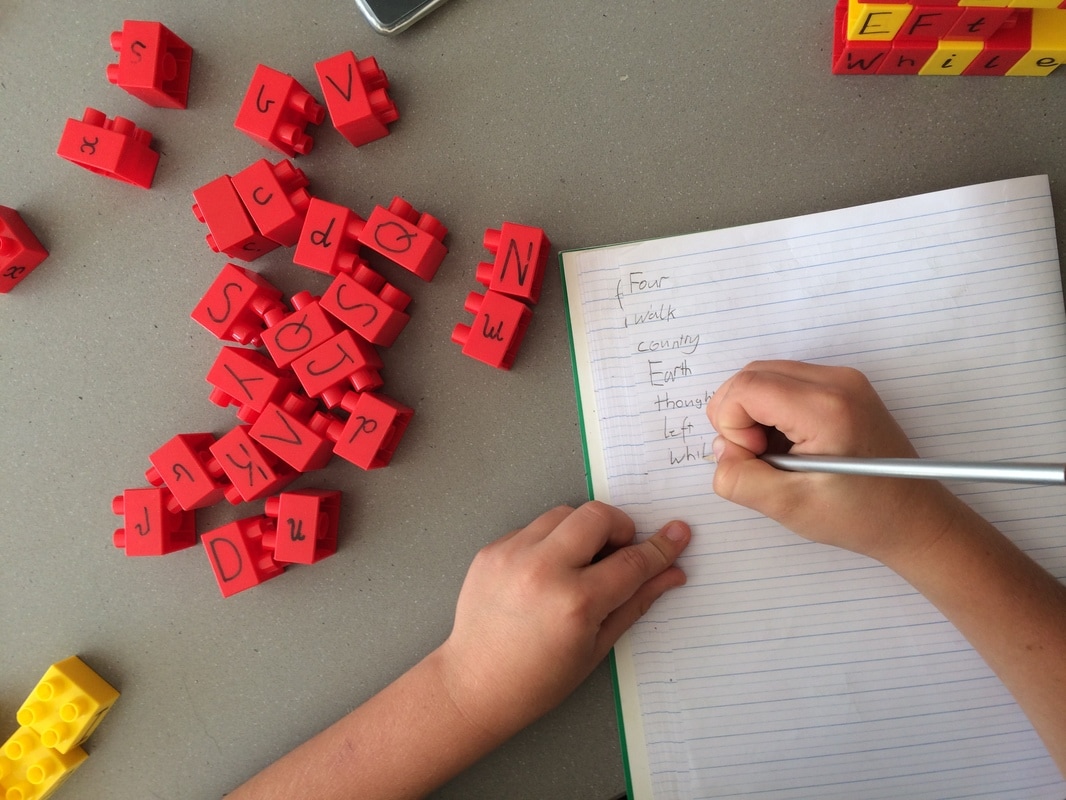
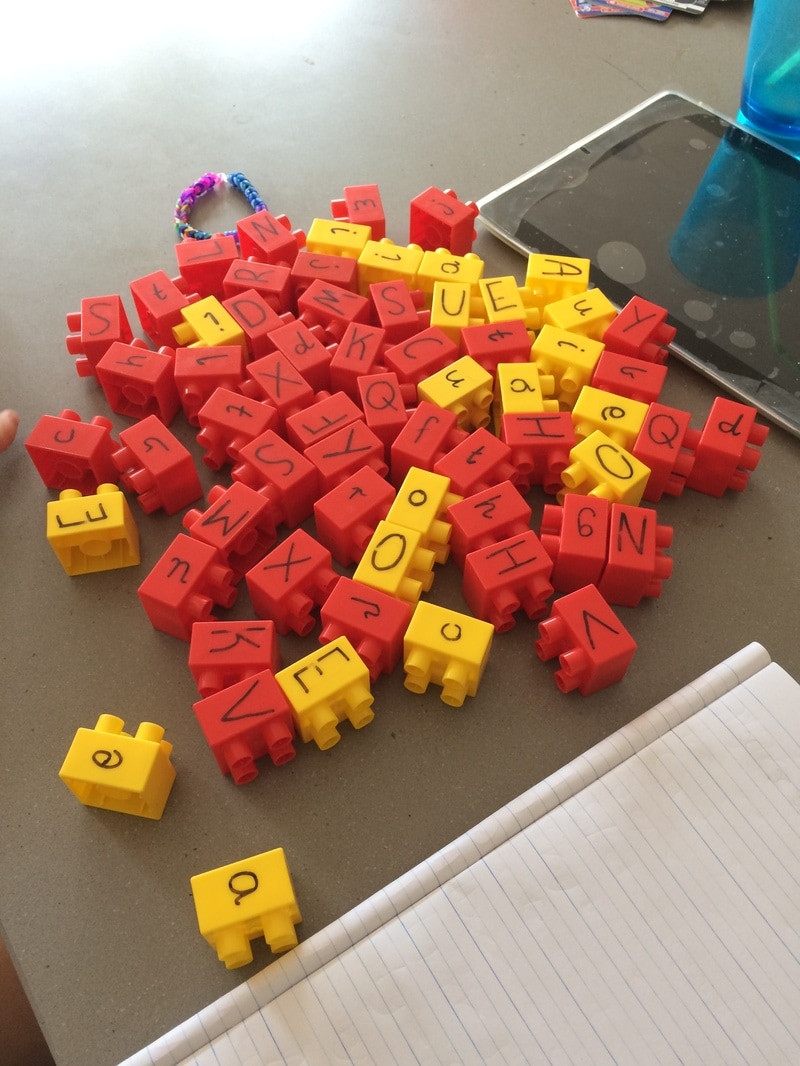
All you need for this activity is some letter blocks. To make these, just write all the letters of the alphabet on the blocks in permanent marker. Make sure all the blocks are facing the same way when writing on them. When I make them, I use yellow blocks for vowels and red blocks for consonants. Also, I make at least 5 of each vowel and 3 each of the most commonly used consonants; T, N, S, H, R, D, L and C. With the blocks made, all your child needs to do is use them to make words and then copy them down on paper. These words can be words that you come up with on the spot, relevant to your child or you can use the word/picture cards, similar to the ones used in sandbox writing and squishy bag writing.
This activity is a great hands-on activity that can be used with children of any age from 4 to 10, depending on skill level, to practice a multitude of skills. With younger children, using the word/picture cards can help them make links to the object as well as learning how to spell and create it with the blocks. Both the word/picture cards and the blocks will help the child with writing as they can directly copy the letters. With older children, there is no need for the word/picture cards. Instead, read off particular words that you want your child to spell and write. Children can practice their spelling by either thinking about how to spell the words you tell them or by copying the spelling straight from the cards. Also, they practice their writing skills by writing the words they create with the blocks.
Personally, I have had a lot of success with this activity; using it to make spelling tests more fun and engaging. I have found that my students enjoy using the blocks more than just writing down the words I read off. They also find it helps them spell the words as they can play around with different letter combinations and change the spelling more easily than just writing it down.
Materials needed:
- Connective blocks (I use Lego Duplo Blocks)
- Permanent marker
- Word/picture cards (optional)
All you need for this activity is some letter blocks. To make these, just write all the letters of the alphabet on the blocks in permanent marker. Make sure all the blocks are facing the same way when writing on them. When I make them, I use yellow blocks for vowels and red blocks for consonants. Also, I make at least 5 of each vowel and 3 each of the most commonly used consonants; T, N, S, H, R, D, L and C. With the blocks made, all your child needs to do is use them to make words and then copy them down on paper. These words can be words that you come up with on the spot, relevant to your child or you can use the word/picture cards, similar to the ones used in sandbox writing and squishy bag writing.
This activity is a great hands-on activity that can be used with children of any age from 4 to 10, depending on skill level, to practice a multitude of skills. With younger children, using the word/picture cards can help them make links to the object as well as learning how to spell and create it with the blocks. Both the word/picture cards and the blocks will help the child with writing as they can directly copy the letters. With older children, there is no need for the word/picture cards. Instead, read off particular words that you want your child to spell and write. Children can practice their spelling by either thinking about how to spell the words you tell them or by copying the spelling straight from the cards. Also, they practice their writing skills by writing the words they create with the blocks.
Personally, I have had a lot of success with this activity; using it to make spelling tests more fun and engaging. I have found that my students enjoy using the blocks more than just writing down the words I read off. They also find it helps them spell the words as they can play around with different letter combinations and change the spelling more easily than just writing it down.
The above pictures were taken with the consent of the children’s parents.
Proof of this can be shown if necessary.
Proof of this can be shown if necessary.
Story Bags
Materials needed:
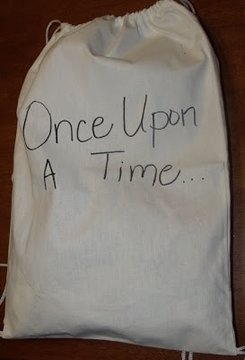
This activity is simple to set up. Once you have your collection of objects, put them into the 'story bag'. Your child can then draw one object out of the bag at a time, using the object to prompt their writing. Your child can begin with writing a few sentences about the object, working their way up to writing full page-length stories using many objects.
This is a great activity to do with children aged seven years and older as it helps develop their creativity and problem-solving skills. They have to think about what they want their story to be about as well as how they will incorporate the object into it. These stories can also be quite funny as they don't make much sense sometimes. With the vast variety of different objects, the children will have to figure out a way to connect a crab with a soccer ball, for example, which can make children be very engaged in their writing. This activity can also help children develop their writing skills including their handwriting, spelling, grammar and punctuation, editing, fluency of their sentences and conveying meaning through their writing.
Materials needed:
- Material bag (any opaque bag will work)
- Assortment of different small/medium sized objects (eg. Toys, shapes, blocks, pictures, figurines)
This activity is simple to set up. Once you have your collection of objects, put them into the 'story bag'. Your child can then draw one object out of the bag at a time, using the object to prompt their writing. Your child can begin with writing a few sentences about the object, working their way up to writing full page-length stories using many objects.
This is a great activity to do with children aged seven years and older as it helps develop their creativity and problem-solving skills. They have to think about what they want their story to be about as well as how they will incorporate the object into it. These stories can also be quite funny as they don't make much sense sometimes. With the vast variety of different objects, the children will have to figure out a way to connect a crab with a soccer ball, for example, which can make children be very engaged in their writing. This activity can also help children develop their writing skills including their handwriting, spelling, grammar and punctuation, editing, fluency of their sentences and conveying meaning through their writing.
Word Bingo
Materials needed:
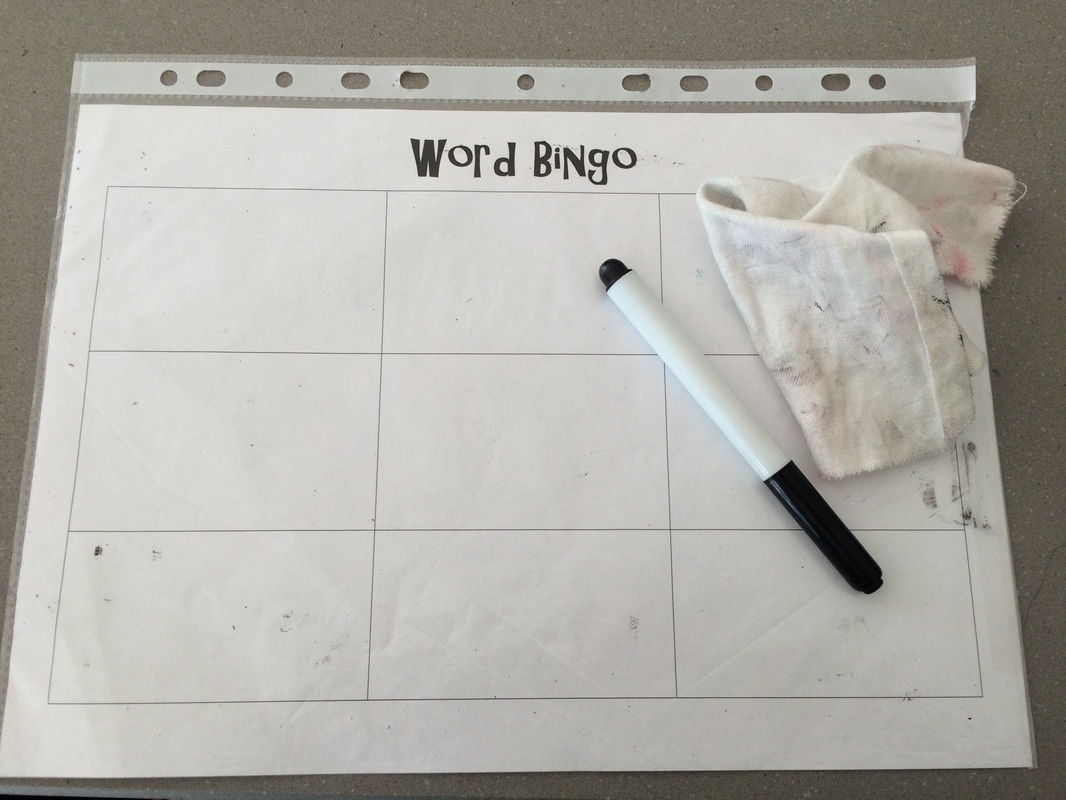
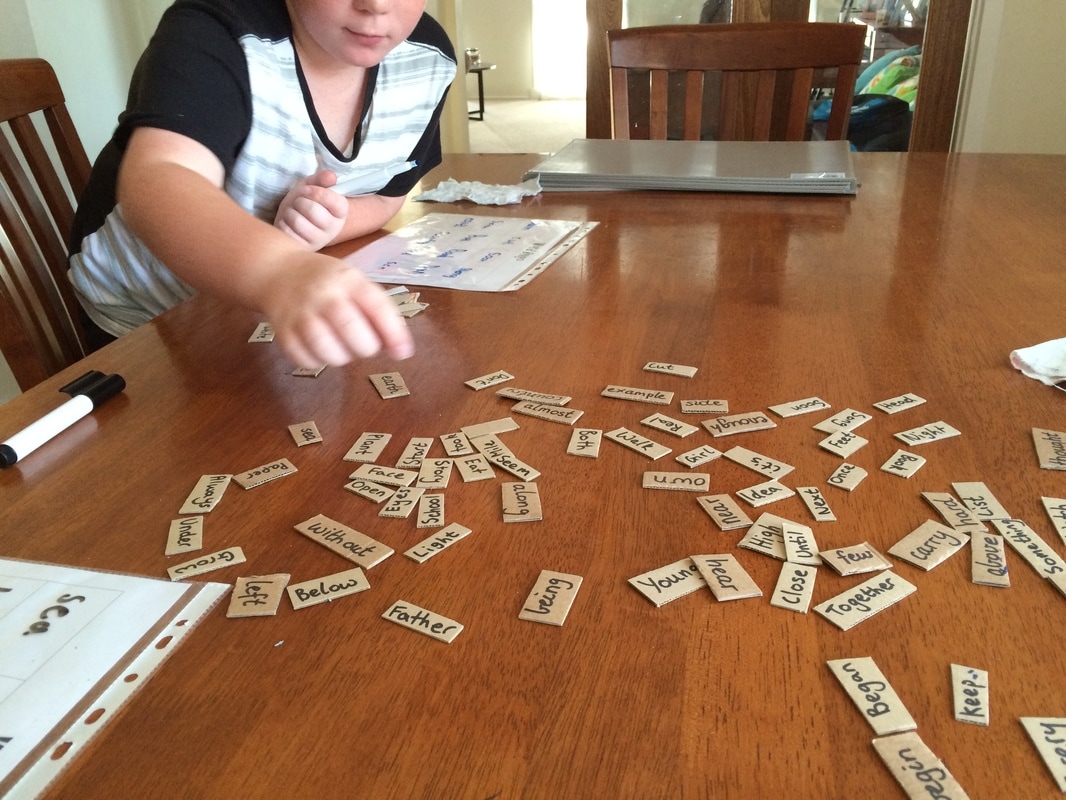
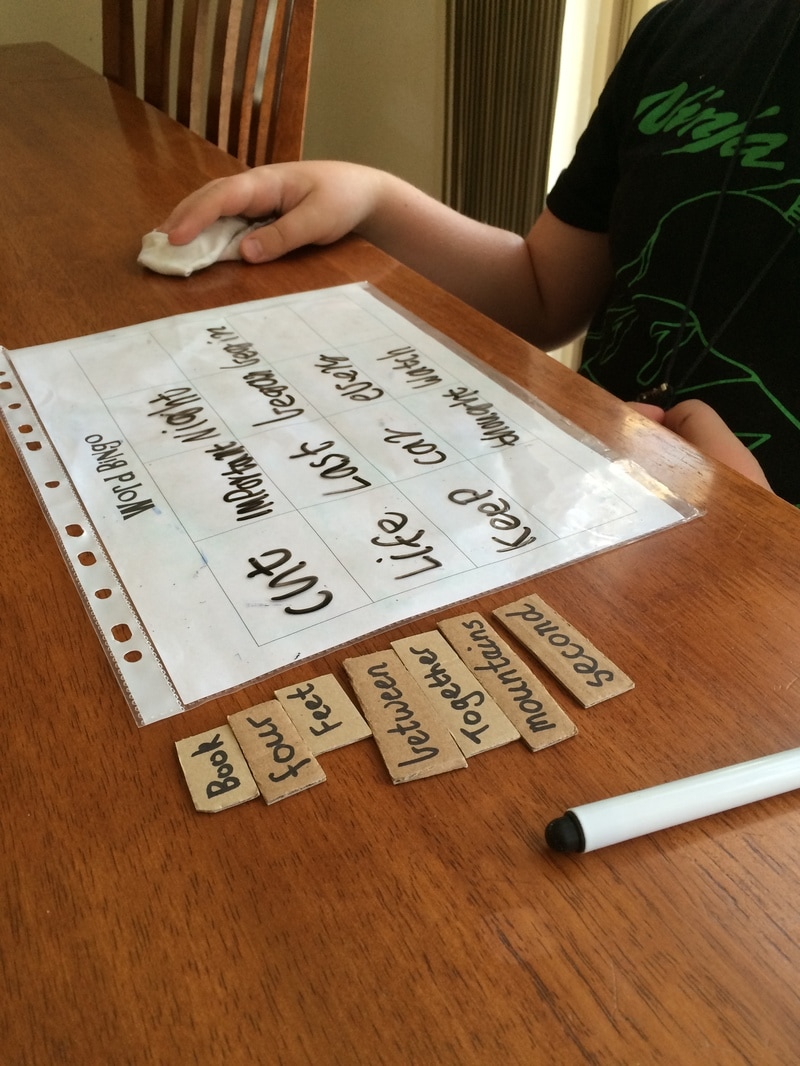
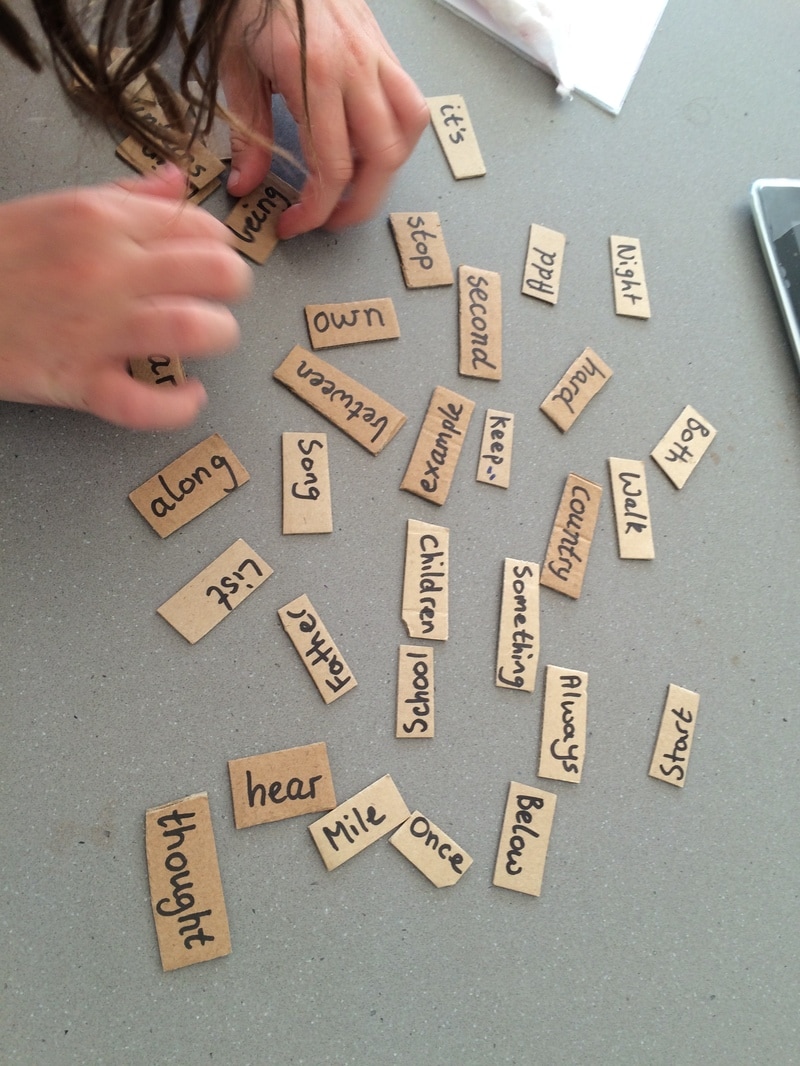
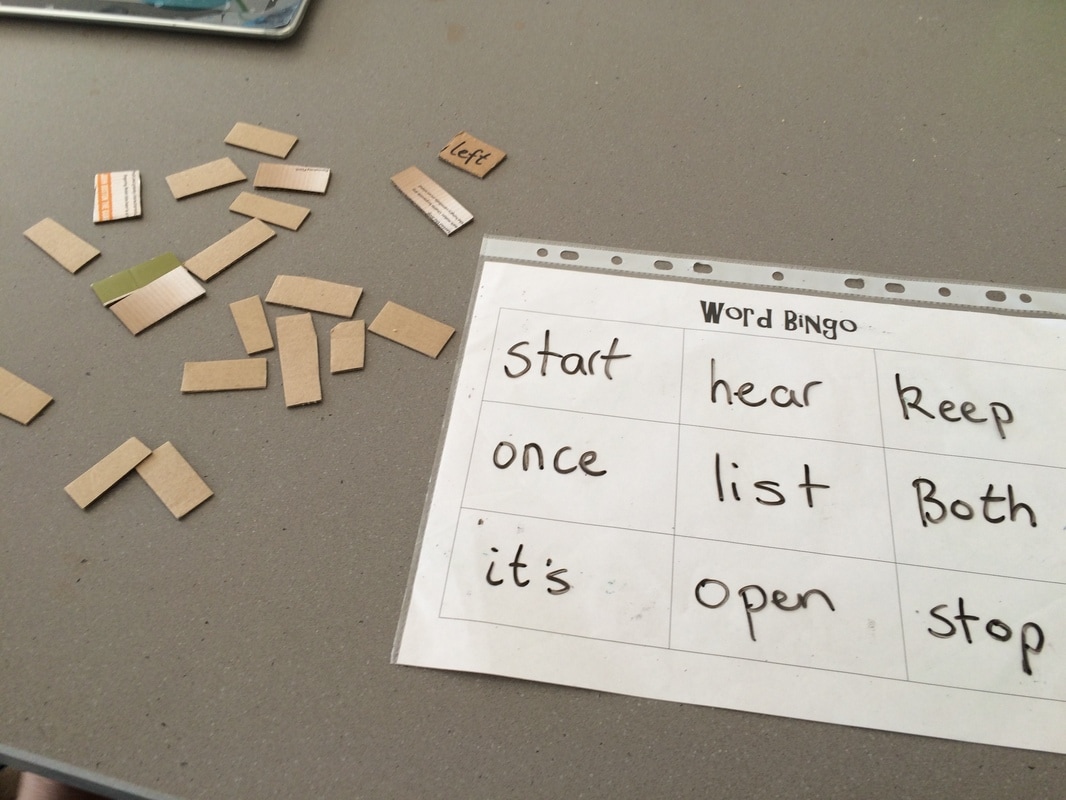
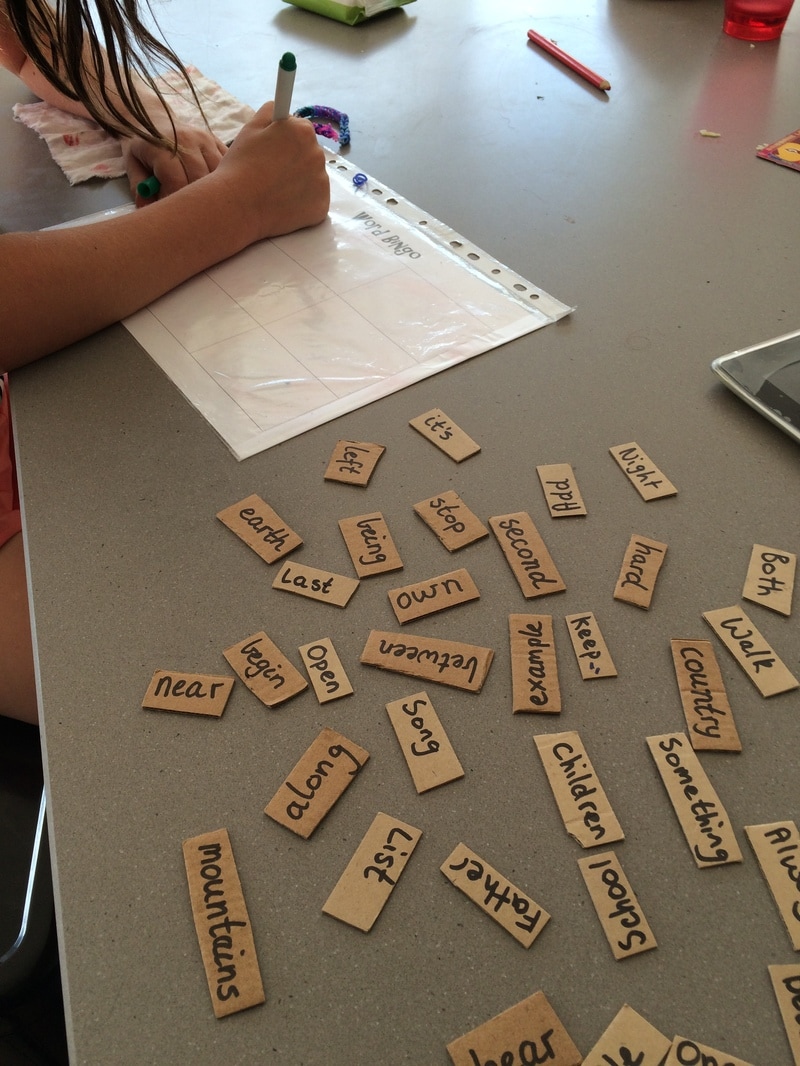
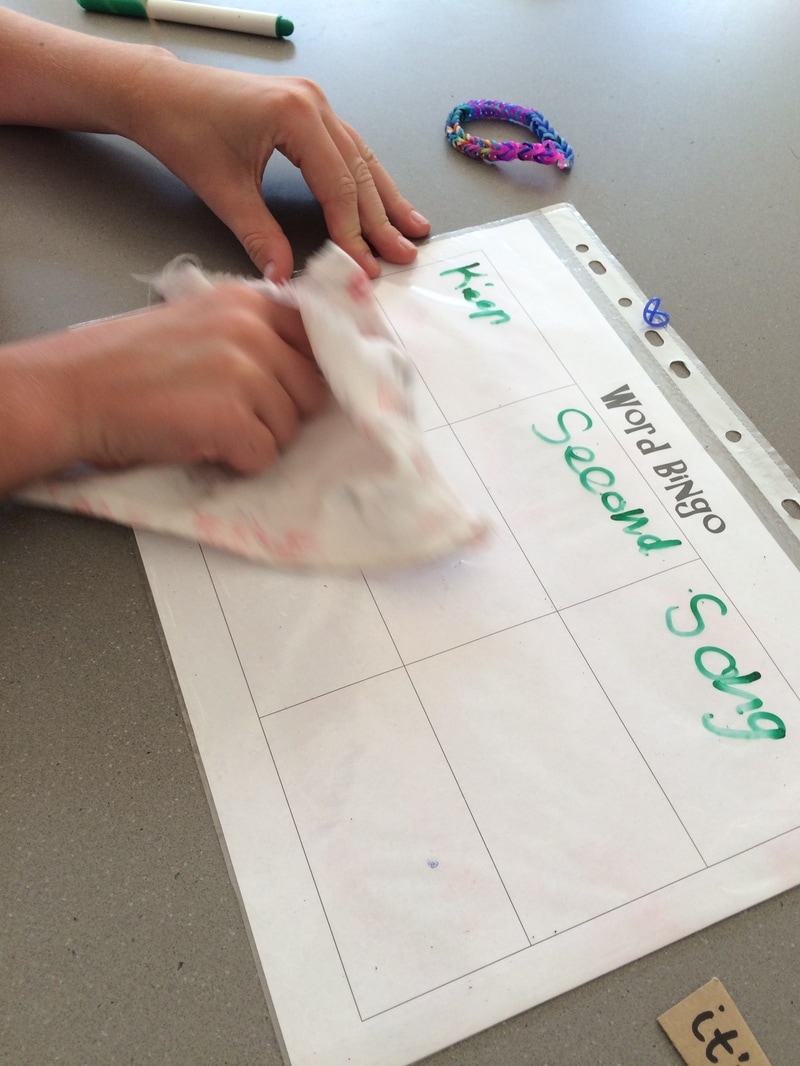
To prepare this activity you first need to create the bingo board. I did this on Microsoft word by inserting a 3x3 or a 4x4 table to fill the page. Once these have been printed out, to make them into erasable boards, put the paper into a plastic pocket, fold over the end and tape. Next, you need to make the word cards. I do this by using old cardboard boxes that I write on in permanent marker and cut out. When I make the word cards I use the 'Fry Words': a set of the most commonly used words, separated into sets of 100 words, all in increasing difficulty. If you want to use the 'Fry Words', open the file below. Alternatively, you could use a list of words that you come up with yourself or you could take some words out of a picture book or children's novel. The main thing to remember when finding words to use is to not make them too difficult or too easy for your child. The words need to be within your child's 'zone of proximal development'. This theory, from theorist Lev Vygotsky, simply means that children have an optimum stage in which they learn, where the content is slightly above what they already know and yet not too hard that they are completely unable to do it.
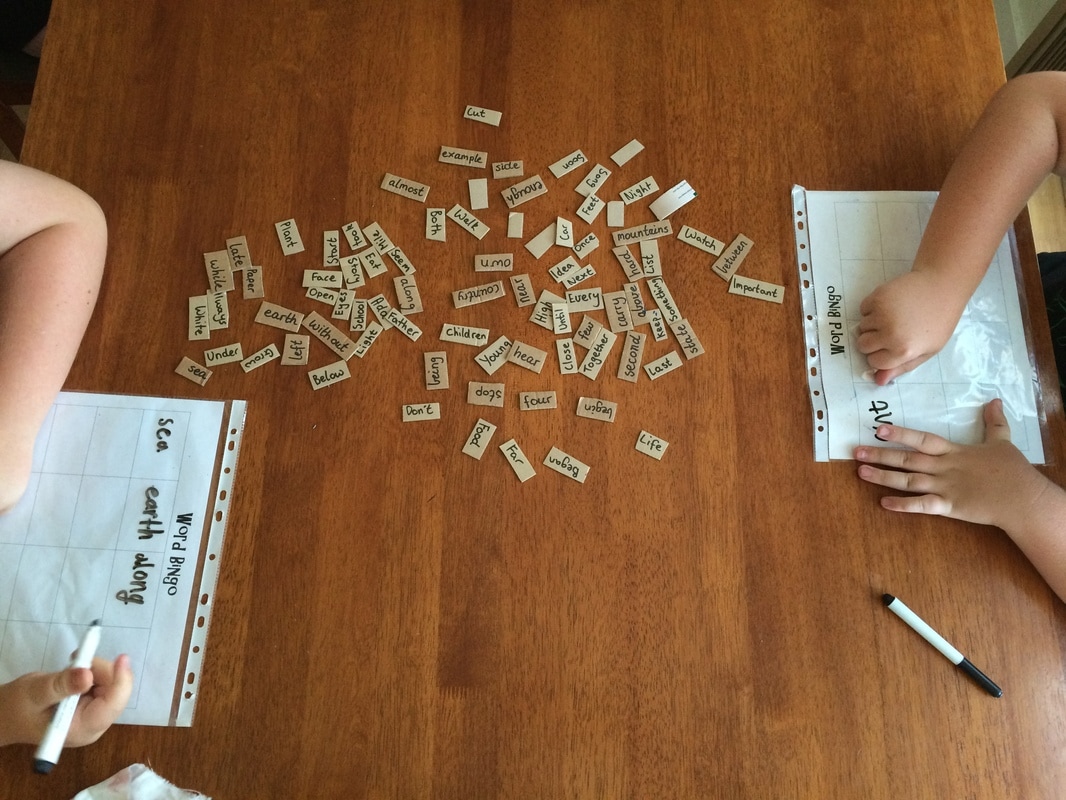
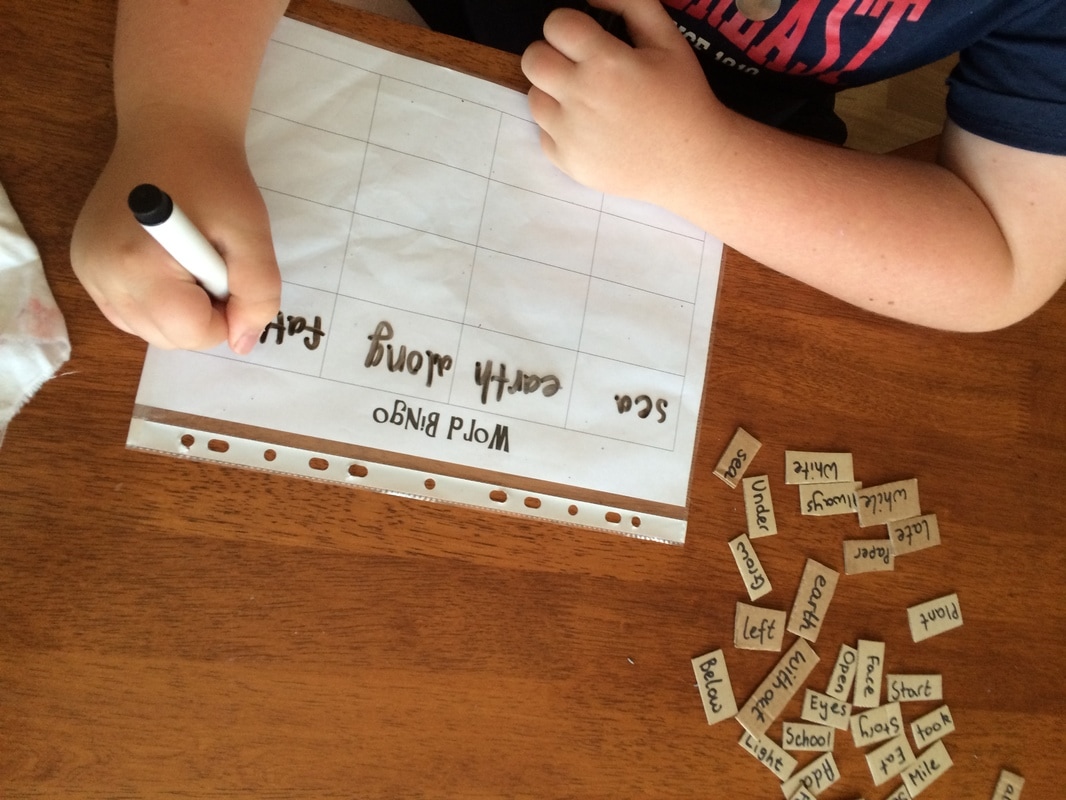
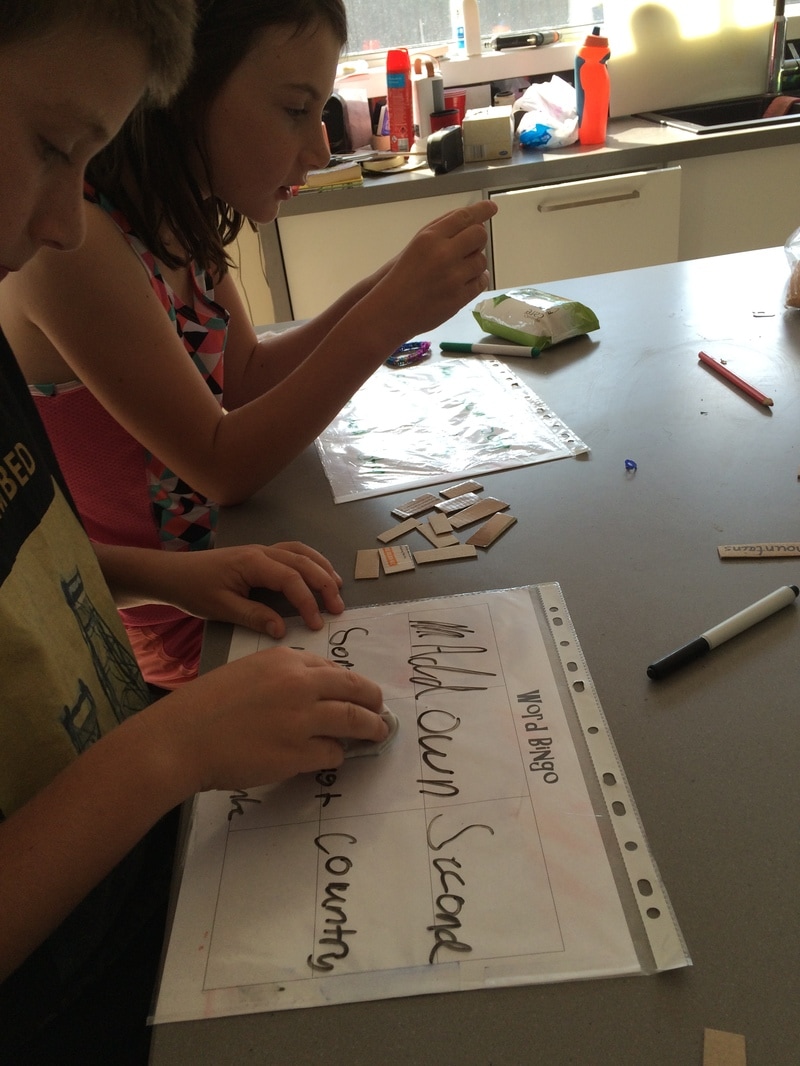
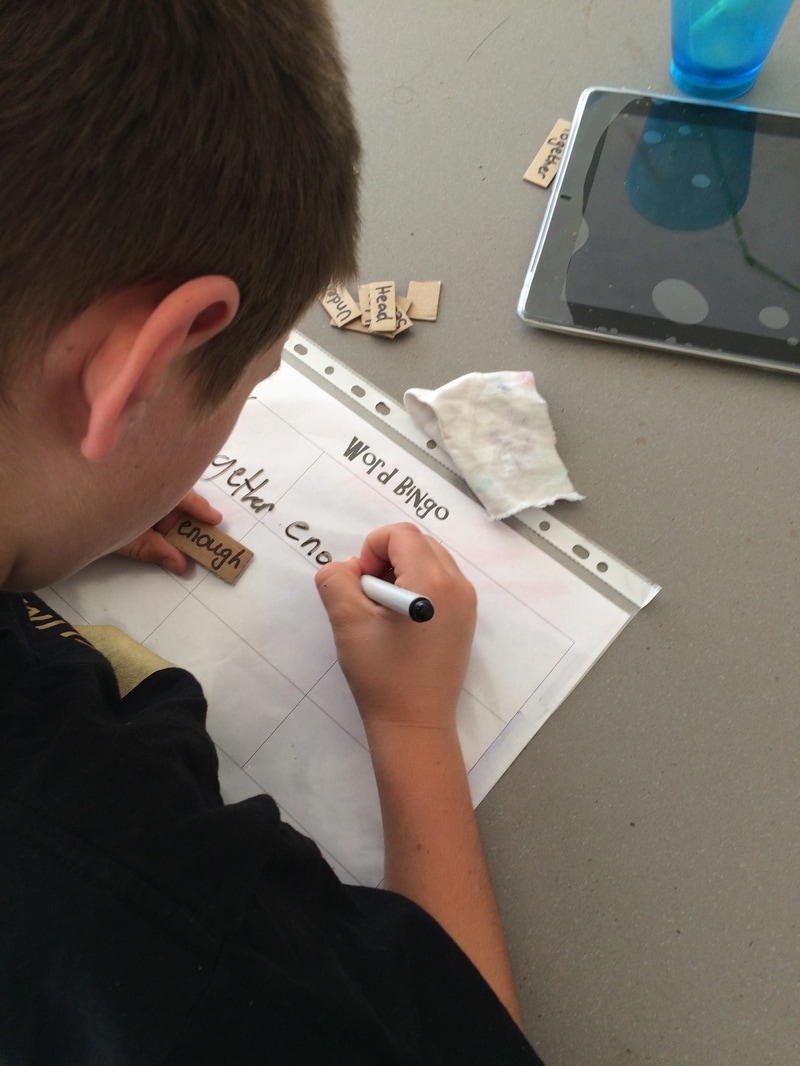
Now that you have made all the components of the game, your child or children can play. Start with a game board each and with all the word cards face up so you can see the words. Then, each player copies some of the words onto their game board, making sure their spelling is correct and their handwriting is neat. Once everyone has filled their board, the word cards can be flipped upside down. Taking it in turns, each player chooses a card, reads it out and, anyone that has that word marks it off their board. The winner is the first one to clear the whole board.
This activity takes a bit of time to prepare but it is great for practicing reading and writing in a fun and competitive way. It is ideal to do with children from 6 to 10 years old, just choose your words according to their ability level. I have found this game to be a great way to practicing reading and writing as the children find it enjoyable and want to play it as there is a competitive edge to it when they try to beat me.
Materials needed:
- Homemade dry erase bingo boards
- Plastic pockets
- Clear tape
- Bingo board template
- White board markers
- Whiteboard eraser or scrap pieces of material
- Homemade word cards
To prepare this activity you first need to create the bingo board. I did this on Microsoft word by inserting a 3x3 or a 4x4 table to fill the page. Once these have been printed out, to make them into erasable boards, put the paper into a plastic pocket, fold over the end and tape. Next, you need to make the word cards. I do this by using old cardboard boxes that I write on in permanent marker and cut out. When I make the word cards I use the 'Fry Words': a set of the most commonly used words, separated into sets of 100 words, all in increasing difficulty. If you want to use the 'Fry Words', open the file below. Alternatively, you could use a list of words that you come up with yourself or you could take some words out of a picture book or children's novel. The main thing to remember when finding words to use is to not make them too difficult or too easy for your child. The words need to be within your child's 'zone of proximal development'. This theory, from theorist Lev Vygotsky, simply means that children have an optimum stage in which they learn, where the content is slightly above what they already know and yet not too hard that they are completely unable to do it.
Now that you have made all the components of the game, your child or children can play. Start with a game board each and with all the word cards face up so you can see the words. Then, each player copies some of the words onto their game board, making sure their spelling is correct and their handwriting is neat. Once everyone has filled their board, the word cards can be flipped upside down. Taking it in turns, each player chooses a card, reads it out and, anyone that has that word marks it off their board. The winner is the first one to clear the whole board.
This activity takes a bit of time to prepare but it is great for practicing reading and writing in a fun and competitive way. It is ideal to do with children from 6 to 10 years old, just choose your words according to their ability level. I have found this game to be a great way to practicing reading and writing as the children find it enjoyable and want to play it as there is a competitive edge to it when they try to beat me.
| Complete 1000 Fry Words |
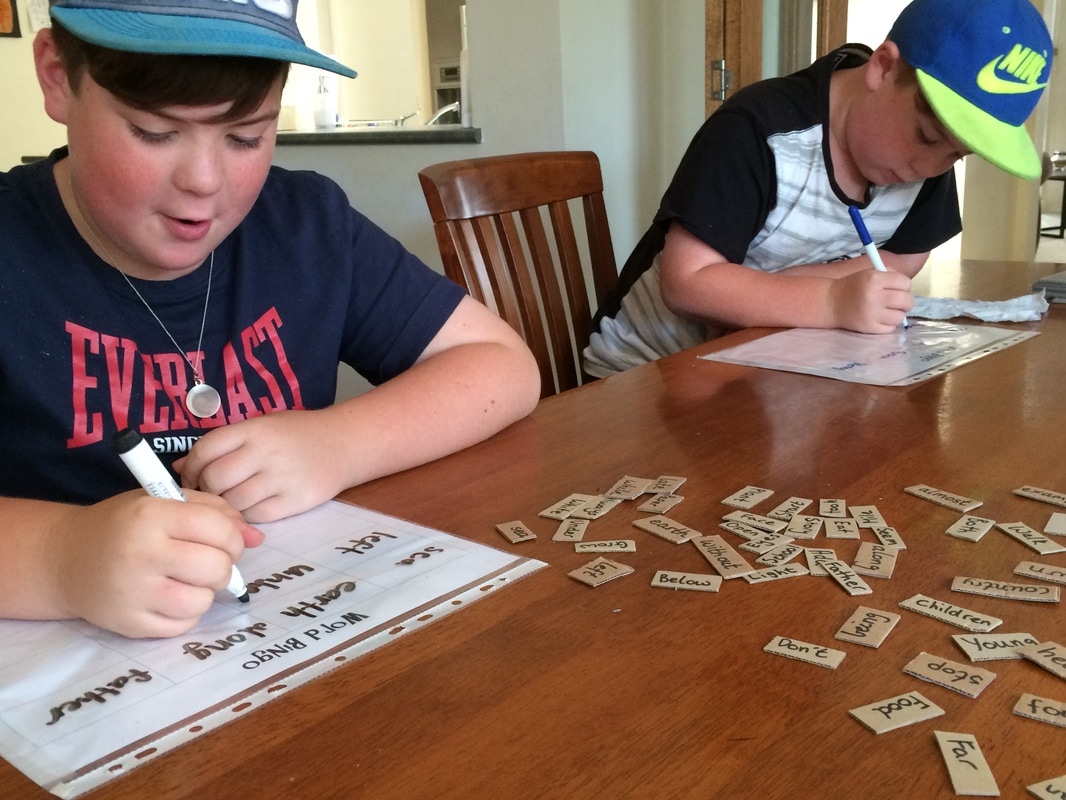
The above pictures were taken with the consent of the children’s parents.
Proof of this can be shown if necessary.
Proof of this can be shown if necessary.
